
If your first thoughts were: “this looks complicated”, then think again. Because once you read through the step by step guide below, you will be tying knots (albeit the dough kind) like a sailor. They are so much fun to make!
This recipe reminds me of the brioche loaves I made last year because of the light buttery texture of the bread. These buns take less than half the time it takes to make brioche and has a lot more flavour: I brought them into the office the next day and before I got back to my seat they were all gone!
Not all recipes use egg but I find adding it here helps give the dough a soft, cakey like texture that you expect from a cinnamon roll. I love the generous use of cardamom, one of my favourite spices. It was back breaking having to grind it by hand in a mortar and pestle; very few places sell the seeds grounded. Be generous with the spice measurements, about 1/4 of it will melt away in the baking process anyway.
And yes I have to admit I played around with the recipe - I added orange rind, nutmeg and almond essence to the mix. This is all optional.
Bon appetit!
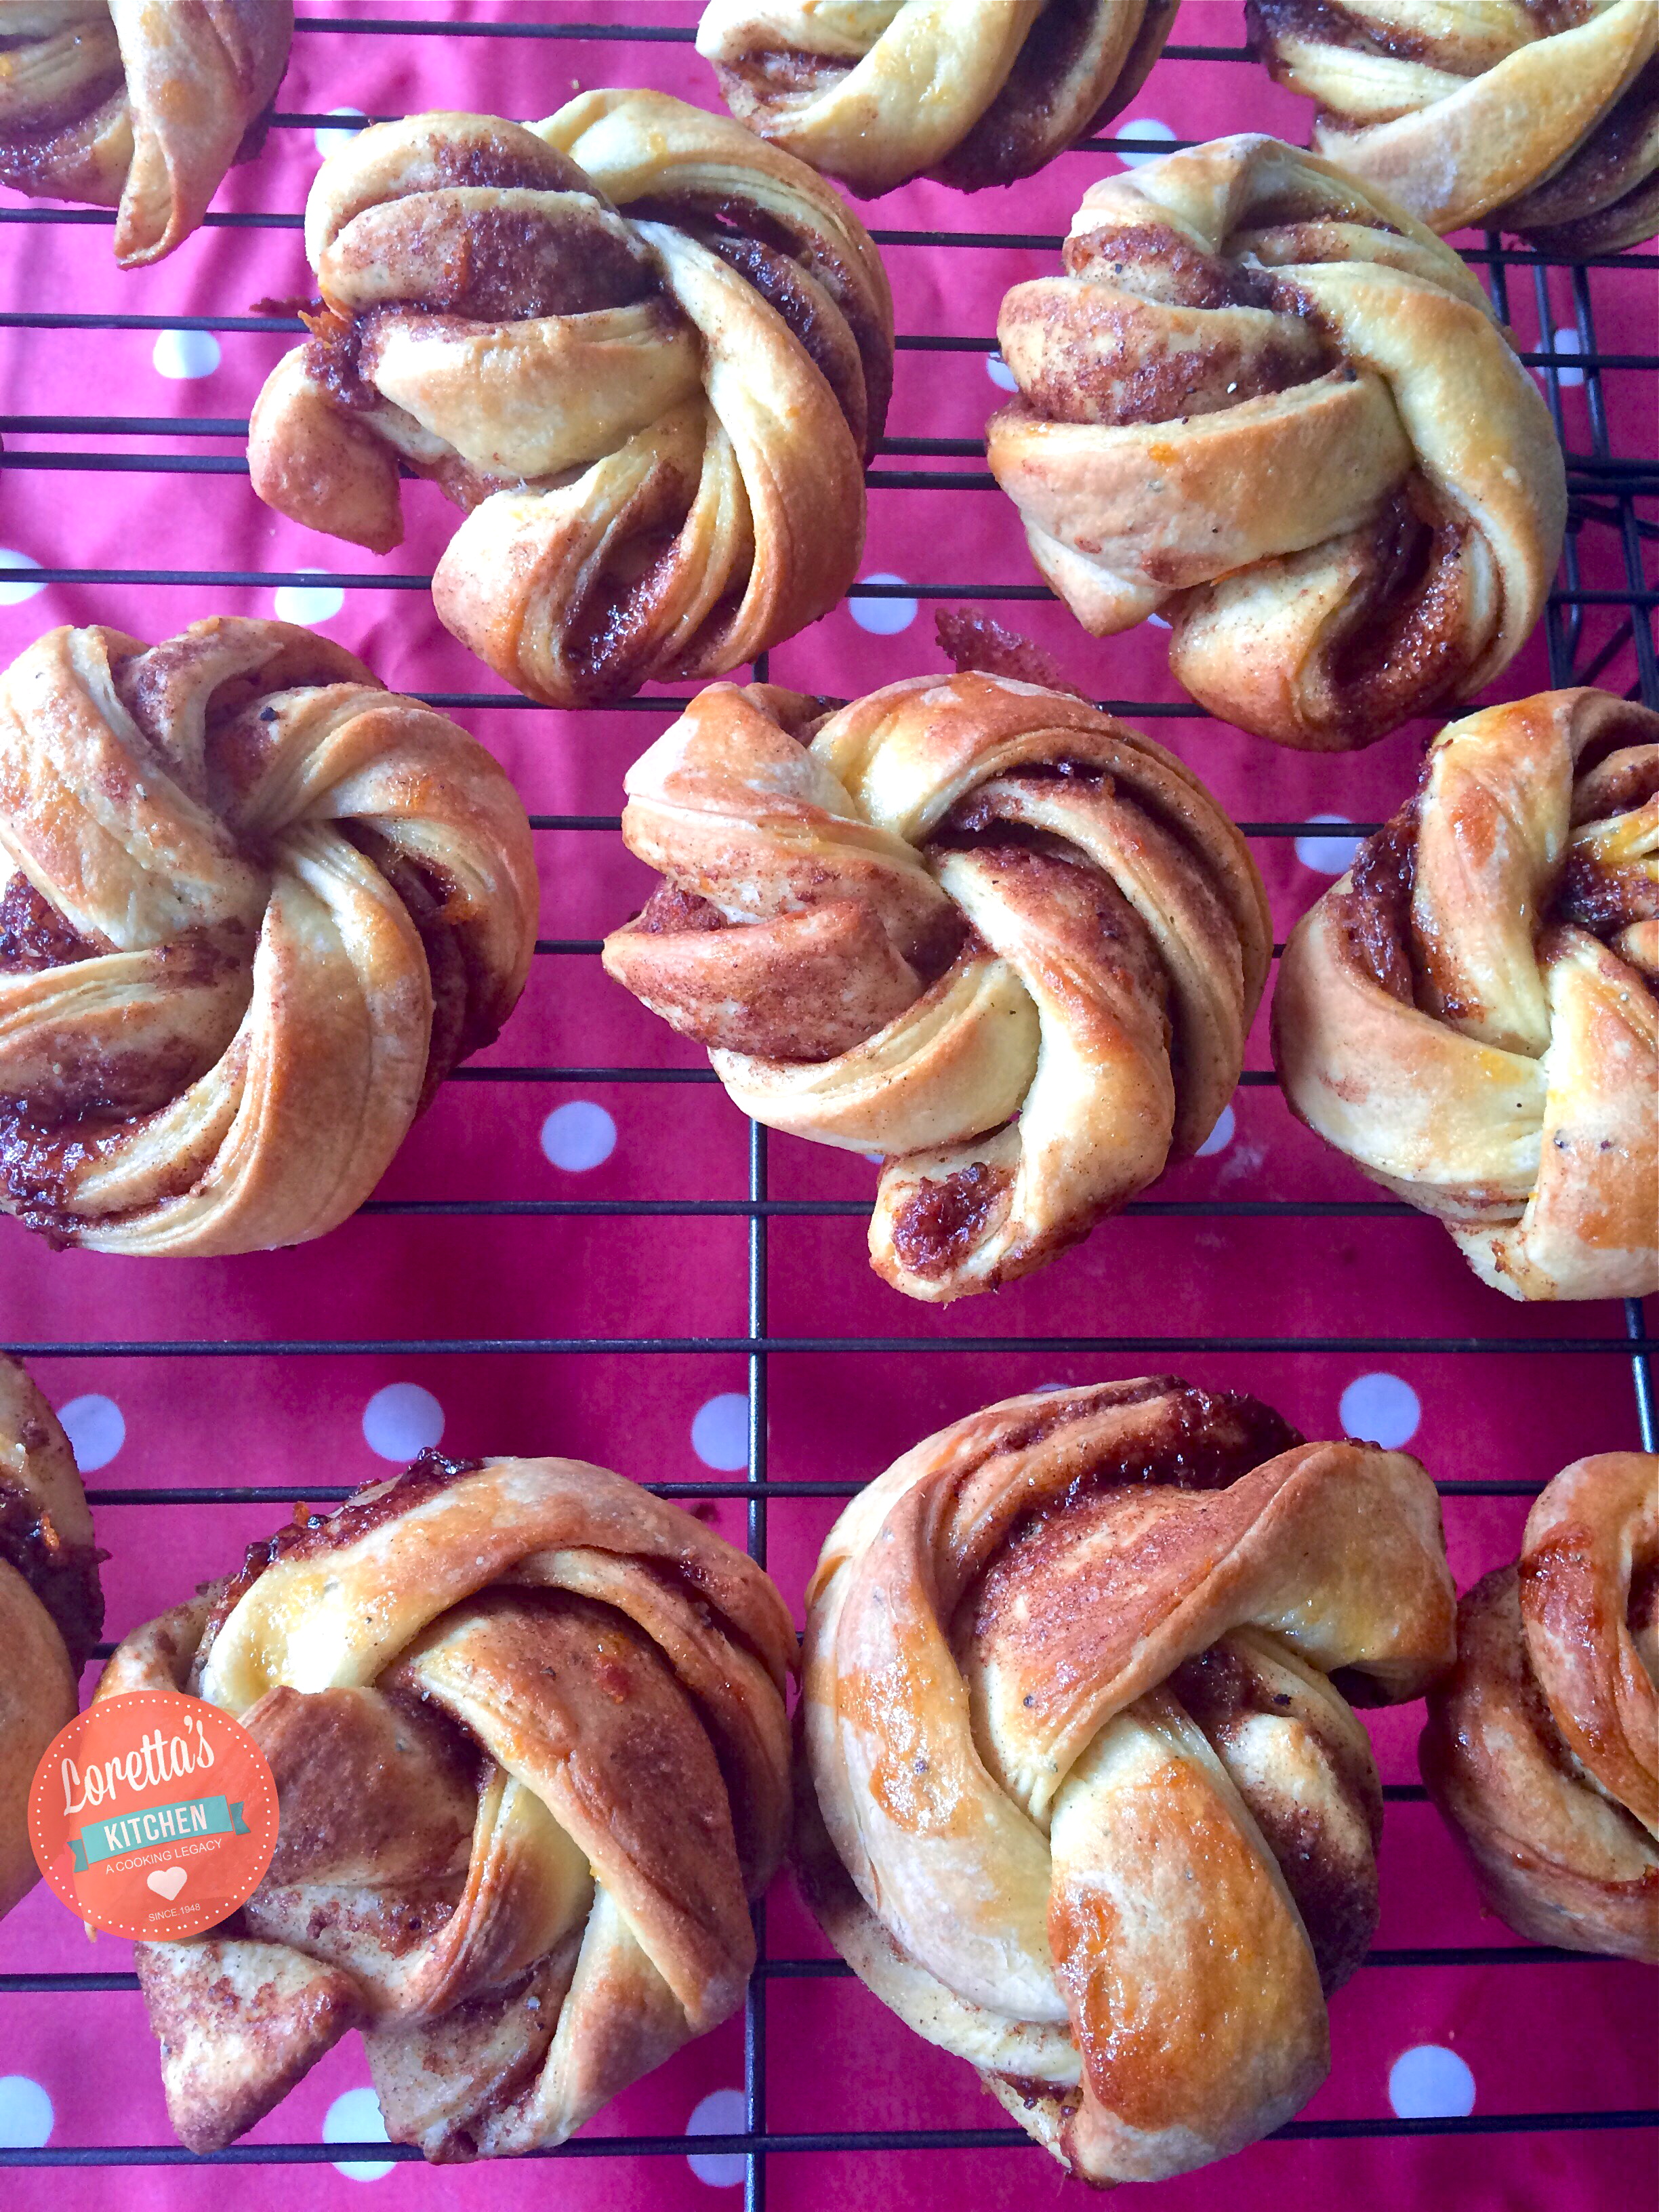
INGREDIENTS CARDAMOM DOUGH CARDAMOM FILLING CARDAMOM GLAZE CARDAMOM DOUGH CARDAMOM FILLING FORMING BAKE Swedish Cardamom Buns

