If your first thoughts were: “this looks complicated”, then think again. Because once you read through the step by step guide below, you will be tying knots (albeit the dough kind) like a sailor. They are so much fun to make!
This recipe reminds me of the brioche loaves I made last year because of the light buttery texture of the bread. These buns take less than half the time it takes to make brioche and has a lot more flavour: I brought them into the office the next day and before I got back to my seat they were all gone!
Not all recipes use egg but I find adding it here helps give the dough a soft, cakey like texture that you expect from a cinnamon roll. I love the generous use of cardamom, one of my favourite spices. It was back breaking having to grind it by hand in a mortar and pestle; very few places sell the seeds grounded. Be generous with the spice measurements, about 1/4 of it will melt away in the baking process anyway.
And yes I have to admit I played around with the recipe - I added orange rind, nutmeg and almond essence to the mix. This is all optional.
Bon appetit!
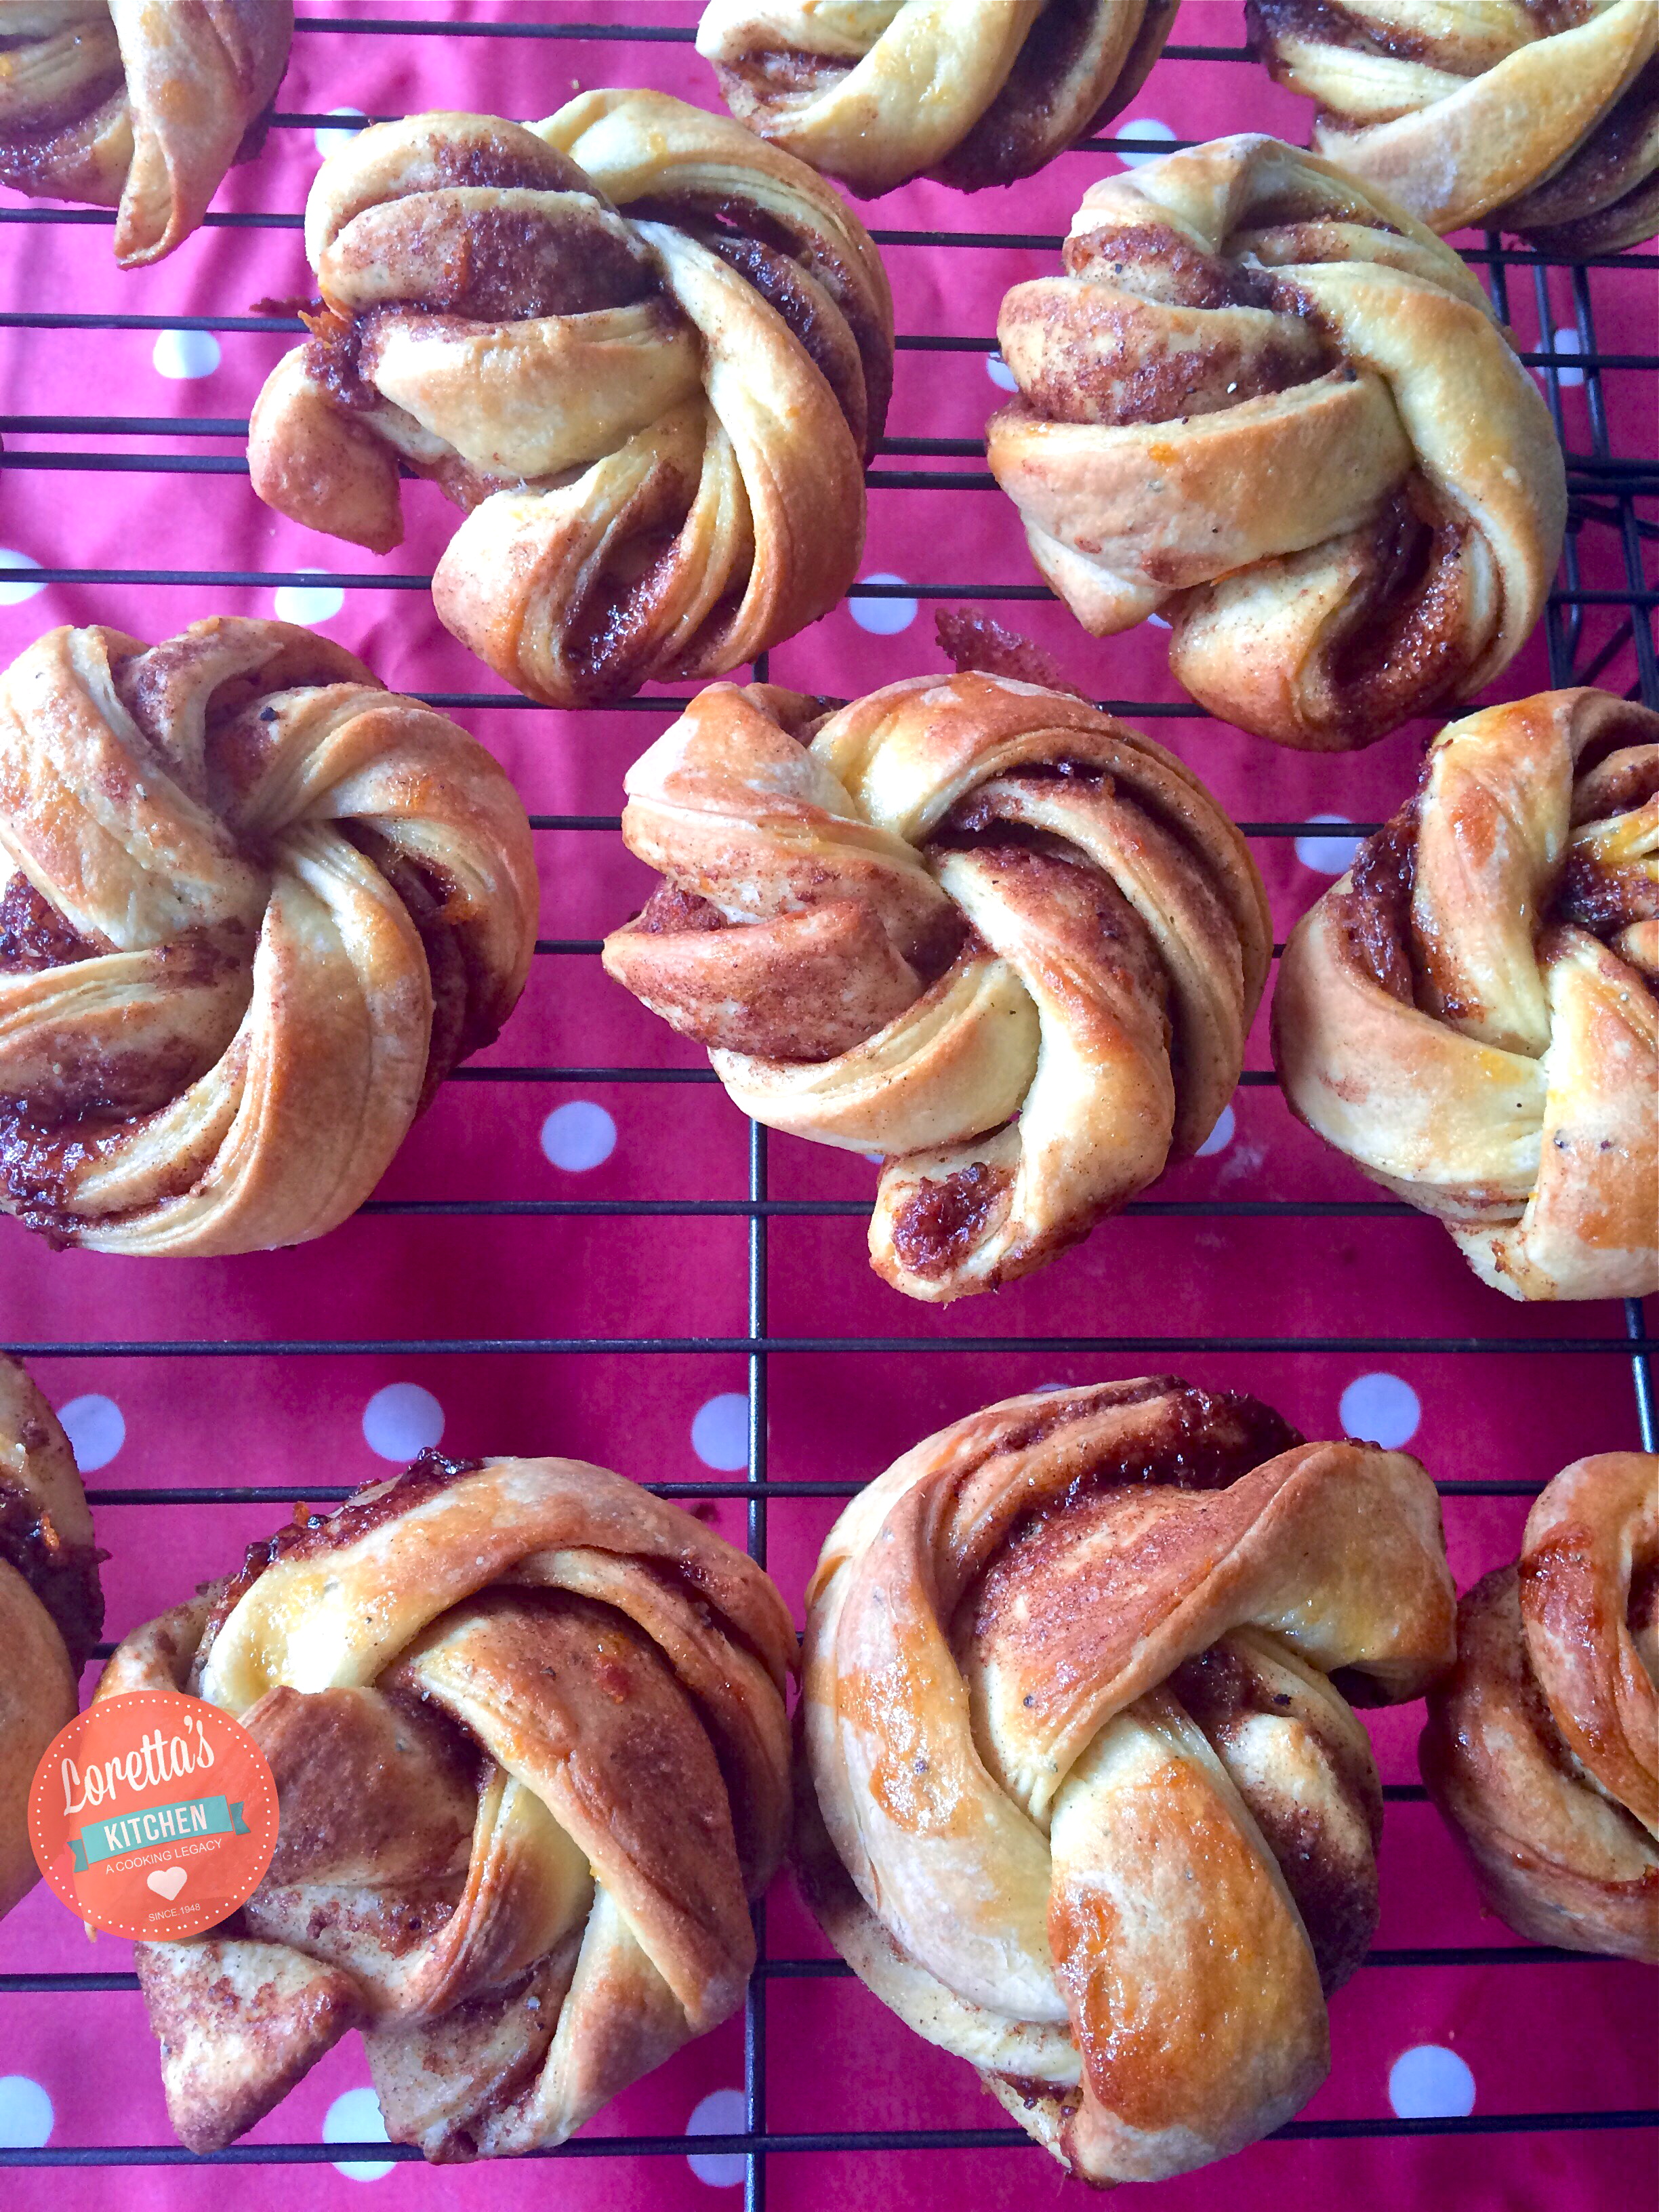
Swedish Cardamom Buns
INGREDIENTS
CARDAMOM DOUGH
- 1 cup + 1 Tbsp. (250 ml) milk, lukewarm temprature
- 1 envelope dry active yeast (7 g)
- 1 1/2 tsp almond essence
- 1/3 cup (67 g) light brown sugar
- 3 1/4 cup (406 g) all-purpose flour, plus more to flour surfaces
- 1 tsp. ground cardamom seeds
- 1/4 tsp. salt
- 5 Tbsp. (75 g) butter (at room temperature)
- Oil/cooking spray (to grease bowl)
CARDAMOM FILLING
- 4-5 Tbsp. (about 63 g) unsalted butter (at room temperature)
- 1/3 cup (65 g) dark brown sugar
- 2 tbsp. ground cardamom seeds
- 3 tbsp cinnamon powder
- 1 tsp nutmeg
- 3 tbsp freshly grated orange rind
- 1 tsp almond essence
CARDAMOM GLAZE
CARDAMOM DOUGH
- Pre-grease/oil a large bowl and set aside.
- In a small bowl, add yeast to the lukewarm milk with 1 tsp. light brown sugar and stir until yeast has dissolved. Let activate for 10 minutes.
- Meanwhile, grind/crush cardamom seeds with spice grinder or mortar and pestle. In the bowl of your stand mixer, fitted with whisk attachment, mix together flour, light brown sugar (less 1 tsp.), cardamom, and salt.
- Change the attachment to the dough hook attachment.
- After yeast has been activated, add almond essence to your yeast/milk mixture, then add to the flour mixture and mix on low until dough begins to come together. Increase speed to medium-low and add cubed butter in handfuls. Once all the butter has been added, increase speed to medium/medium-high and knead for about 5 minutes. You want this to be a fairly loose dough, so whatever you do, don’t over knead.
- Scrape dough out onto a lightly floured surface and shape it into a bun, tucking the edges toward the centre. Place in your greased bowl, seam side down and cover with a clean kitchen towel. Place bowl in a warm place and let it rise for at least 40 minutes.
CARDAMOM FILLING
- In the bowl combine butter, dark brown sugar, and freshly ground/crushed cardamom seeds and the remaining spices until creamy and smooth.
FORMING
- Line baking sheets with baking paper.
- Roll out dough into a 13” x 21” rectangle on a lightly floured surface.
- Spread filling onto the rolled out dough rectangle with a spatula so that it covers the entire area from edge to edge.
- Mark 7″ sections on the 21″ side with the back of a knife so that you have three equal sections. Fold left side to the middle, than fold the right side over the left side. Turn the dough so that the openings are on the left and right sides and roll out the dough slightly.
- Using your ruler and sharp knife or pastry wheel, cut 2 cm strands. You should have 15-20 strands.
- Starting from the end, wrap one strand around the tips of your thumb and four fingers (three if you have big hands) twice, twisting slightly as you wrap, then slip your thumb out of the roll, loop the strand around one last time then tuck the end and your thumb loop into the bottom. If you’re having trouble, please re-watch this link. Repeat with all strands.
- Place buns on your pre-lined baking sheets, (giving enough room for dough to rise and spread during proofing and baking), cover with a kitchen towel and let rise for about 30 minutes.
- While proofing, preheat oven to 435°F (at least 30 minutes before baking)
BAKE
- Brush the surface of each bun with the whisked egg
- Bake proofed rolls for 7-8 minutes or until tops are golden brown
- When they have cooled down completely, you add a dollop of orange infused cream cheese, (a mixure of orange peel, juice, icing sugar and cream cheese) to each bun.
- Serve and enjoy!!
Like this:
Like Loading...