Thomas Cook

My fellow foodies

I have to apologize for my absence from this site. I want to say it was down to technical problems, however no worker should blame their tools…especially a tool like wordpress support who are absolute geniuses!

I have been away but very, very busy: several supperclubs, food articles and catering opportunities later I have soo much to share with you.

2019 has already kicked off to be a fantastic year with me being featured in Thomas Cook Holiday Magazine reviewing the growing trend of craft beers and wine vineyards in the Caribbean - Yes hot humid Caribbean now has its first winery! check out the link for details.

I have so much planned for this site this year combining my love of Caribbean history with food and culture - I have regular updates from now on. In fact I should ask you - what would you like to see? Please leave your comments below 😉

Ciao for now! xx

Advertisement

Golden Patties: Can I take your order?

Is it too early to start talking about Christmas?

It’s 6 weeks away…you can thank me later 😉 This might not come as a shock to many of you, but to those planning on having a whole load of hungry guests share their personal space for at least 24 hours, it might be a good idea to start thinking about it from now.


IMG_2262You might be wondering what Christmas has to do with the mouth-watering beef patties pictured above, well I won’t waste anymore of your time; I have been practising my hardest at making jamaican patties, (see my instagram page). Now I think I have mastered the taste and texture, for the first time ever…just in time for Christmas 😉

Could you see these golden patties on your buffet table or office party? Maybe you want a Christmas brunch without any hassle; I think these mini patties which fit neatly in the palm of your hand would do the trick.

I’m working on some different flavours: pulled bbq chicken, feta and sun-dried tomato…what other combinations are there? I’d be interested to know what you’ve filled your pies and patties with recently.

Drop your comments below…;-)

Roasted Pumpkin & Garlic Soup

So this is how you make effortless, tasty and satisfying soup in minutes. Soup doesn’t have to be complicated nor does it need a whole bunch of ingredients to leave your mouth watering for more. I grew up using yellow or red split peas as a base for thick soups. But as the split peas release no flavour of their own, I found myself adding tons of ingredients, and root vegetables which meant more time in the kitchen and less time doing the other things I enjoyed doing.

This soup however is complete in 3 easy steps: roast, blend, boil.

And if you have any left over, it could work as a good based for a pasta dish or stew. The dense sweet nutty flavour of this variety of pumpkin (normally sold in caribbean markets) when roasted needs very little to enhance its flavour more. You can add more or less water to achieve the consistency you want. I think you’re going to really like this one…;-)

Roasted Pumpkin and Garlic Soup

Ingredients:

600g Raw Pumpkin (leave skin on)

Half White Onion

Half Garlic Head (sliced down centre)

Drizzle of Olive Oil

4-5 Sprigs Fresh Thyme

1 Scotch Bonnet

1/2 vegetable stock cube

1 tsp garlic/ ginger paste

Salt/ pepper to taste

1 1/2 cups water

Method:

Pre-heat oven to Gas Mark 8

Place Pumpkin, onion and garlic into a roasting tin and drizzle with oil, salt and pepper. Remove any excess skin from the onion and garlic to reduce burning.

Place in oven for 23-30 minutes or until the pumpkin is tender

Remove the tin from the oven and allow to cool for 15 minutes before scooping the pumpkin flesh, squeezing the garlic bulbs out of its shell and removing the outer skin from the now caramelised onion.

Transfer to a large pot with the remaining ingredients on the list. Boil for 5-6 minutes gently breaking up the vegetables.

Then allow it to cool for 10 minutes before transferring all the ingredients (except the thyme and pepper) into a blender until smooth. Return the soup to the pot and continue boiling for 5 minutes, season to taste and serve!

Green Fig Salad


It was only during my first trip to Trinidad as a teenager that I realised the sheer variety of bananas that existed. Most of us are familiar with the Chiquito variety of medium sized bananas and a few more with yellow plantain and even green banana. But Trinidad introduced to me red skin banana, sour tasting banana, short fig and cooking fig. I think I’ll work with the 3 I know for now.

This recipe is a typical alternative to potato salad in Trinidad. The firm starchy texture of the green banana makes it a usual candidate for  Metemgee; but it works really well in this salad as it resembles the waxy texture of new potatoes.  It’s also packed with vitamin C, B6 and Potassium, so don’t feel guilty serving yourself a larger portion.

Green Fig Salad

  • Servings: 2
  • Difficulty: easy
  • Print


Ingredients:

3 Green bananas

3 tbsp Garlic Mayonnaise

1/2 carrot cut into cubes

2 tbsp frozen peas

1 tsp English Mustard (optional)


Method:

Cut the banana into thirds with skin still on and boil in a pot of salted water for 15 minute or until firm. Remove from the stove, drain the water, replace with cold water to help it to cool down.

In the meantime take the carrot and boil in some water in a pot until tender. Drain water.

Take each of the banana pieces, remove the skin, slice down the middle then into chunks (1″ pieces). Place in a bowl with the carrots, peas and mayonnaise. Mix well, season to taste and serve.


Guyanese: Pepperpot

If there was ever a dish which made me immensely proud of my Guyanese heritage, it would be this one. Pepperpot, the National dish of Guyana. Simply the bitter-sweetest, warmest, stickiest pot of stew you will ever taste. It has a taste like none other, and its all down to one main ingredient: Cassareep.

Cassareep was not as accessible in the 80’s when I was growing up as it is now; and even here, only certain West Indian shops sell it. I don’t know where we found the thick black molasses mixture when I was a child, but it was cherished like liquid black gold in our home: It would sit at the back of the cupboard, in a used Pepsi Bottle silently, waiting for the 25 December. I recall it being sealed with masking tape around its mouth and neck, as if smuggled out of the country, put on a boat destined for the Motherland…only to sit at the back of someone’s cupboard for 11 1/2 months of the year.

“Cass-a-reep” I was told by my mother as she would stir the pot of generous dark meat, was invented by the Native Amerindian’s of Guyana. They would extract the juice from bitter Cassava root which is in itself poisonous to eat if not cooked properly, and then boil, and boil and boil the juice down until eventually what remained was a thick black syrup. For more information on how Cassareep is made, follow this link.

“It always tastes better the next day…” she would add smiling.  Music to my ears. Because the Amerindian’s had no refrigeration,  Cassareep’s  natural preserving properties kept the dish going for days on end (that is why pepperpot can be left on the stove, re-heated daily for days and not spoil).

Pepperpot is traditionally eaten with thick, white home-made bread and made with several types of meat. For this recipe, I limited myself to Ox-tail, but feel free to combine it with Mutton if you wish.

If you would like this recipe - just drop me an e-mail: lovelorettaskitchen@gmail.com


Soursop Punch


There use to be a time in my life when I was conscious that I was beginning to sound like my Mum.

Last week was definitely one of them.

No Soursop today?” I said in deep frustration to the man at the stall in Ridley Market. “No sorry darlin’ none today; nothing came off the ship from St Lucia or Jamaica...” In that split second my imagination took me to the shores of St Lucia, picturing Mr Market Stall man waiting at the beach front with his trolly waiting for this precious fruit to come in. I smiled at myself and walked away, a little disheartened.

Last month there was no Soursop either, this time it was because it was being sold for the “price of Gold” his friend had told me. The way I hounded these guys, week after week watching, lingering, pretending to only pass by, hoping to see a pile of fresh prickly green skinned fruit smiling back at me…it was beyond an obsession, I was a evolving into my mother.

Why I bothered to walk the 500 yards to the end of the market last week when I could have caught the bus straight to work, I don’t know. But something told me, give this market stall another try.

At that time in the morning the stalls are just setting up for the day: I could see the old turkish man screwing on a handle which had dropped off a lid he was selling; then there was that tall black guy with the skull cap, dark blue overalls and mono-brow that met in the middle; he greeted me every morning like we knew each other well.

Then came my former hairdresser nestled behind the man who sold hats, scarves and ladies lingerie whom she resented because his stall blocked the entrance to her shop.

Finally, the Man in the Market. I passed his shop slowly and carefully scanned the goods on display: right in the centre were my little babies: Fresh Green Prickly Soursop - I took the first one my hands and eyes laid on to and proceeded to the counter. Someone was already there: “You’re gonna make some sweet punch wit dat!” The man he was serving remarked - I laughed and said yes…some sweet punch indeed.


Soursop Punch


Ingredients

Pulp of Sour Sop Fruit (large fruit size = 4 - 5 cups of pulp)

1 can (397 g) of condensed milk

3 tsp grated nutmeg

1/2 tsp Angostura bitters

2-3 cups cold water

2 cups boiling hot water


Method

Cut the sour sop fruit length ways down the middle into two halves. You will find a thick stalk running down the middle of the fruit, remove this with a knife.

Scoop the white flesh and seeds out from the shell and place in a bowl. Pour 2 cups of boiling water over the fruit and stir the mixture to release some of the seeds from the pulp. remove whatever seeds you can by hand this way. Then with your fingers peel the black seeds away from the fruit and discard. This may take 10 minutes to do. Keep all the remaining fruit in the bowl.

Take the remaining fruit and pass it through a large sieve with a bowl underneath to catch the pulp, this will help to remove any seeds that you may have missed. You may have a lot of fresh remaining in the sieve, transfer this all to the bowl underneath.

Take the pulp and transfer it to a blender with 1/2 cup of cold water if needed. Blend the pulp to a smooth pulp. Then again using the sieve, pass the pulp through the sieve, gently pushing the pulp through. Now you can discard any skin that remains in the sieve.

You should be left with a off white thick pulp. If you don’t wish to use all of it, squeeze some lime or lemon into the remaining pulp, and place in the fridge in a sealed container.

Otherwise, transfer half of the pulp and half of the condensed milk, 1 cup of cold water and nutmeg to the blender. Blend the mixture and transfer to a jug. Then proceed to blend the remaining pulp and milk together. You can combine the two into the one jug; and add more water to achieve the consistency you wish.

Finish by adding a dash of Angostura Bitters to the punch. Serve chilled.


Bara and Channa (Doubles)

Yes Bara and Channa: the original street food of Trinidad. I soon learnt on my first trip to Trini, not to buy Bara and Channa from just anyone!

My Dad and I still laugh about it to this day how we would drive 45 minutes away from my Uncle’s home, in the south, to buy fresh bara (bread) and channa (chick-pea) from a middle aged lady who made it straight from her isolated hut, passing many other vendors along the way. This lady’s bara was made right before our dry eyes and watering lips rather than fried beforehand and left to steam in a hot pan waiting for the first customer. The best bara is slightly crispy on the outside and fluffy in the middle with a mild curry flavour.

This wouldn’t be a true hot sandwich without the condiments: the Anchar (pickled mango chutney), the tamarind sauces and the cool cucumber salad. If you follow this recipe correctly, you will also have the most lightest fluffiest bara you could ever want: easy to slice into a pocket or sandwich two bara’s together with a serving of curried channa, hence the name ‘doubles’.

It’s a messy sandwich to eat at times, but that’s all accepted as no compromise is made on taste! It’s quick, tasty and your sure to have another (doubles!) Ok here endeth the puns!

Bara and Channa (Doubles)

INGREDIENTS

Bara

2 cups strong white bread flour

1/2 tsp Salt

1/2 tsp Turmeric

1 tsp instant yeast

1/3 Cup warm water

1/4 tsp Sugar

Oil for frying


Curry Channa

1 tin of Chick Peas (keep the salted water for later)

3 cloves Garlic crushed

1/2 medium Onion - grated

2 Spring onions - finely chopped

1 tbsp of Sweet red pepper (finely chopped)

1-2 tbsp of Patak’s Madras Curry paste (or Chief Curry Powder)

1/2 tsp of Cumin powder (Geera)

1 tbsp Olive oil


Cucumber Chutney 1 Cucumber - finely sliced

2-3 Garlic cloves

Juice of 1 Lime

1/2 tsp of Scotch bonnet pepper

1/2 tsp Brown sugar 1-2 tbsp of freshly chopped Coriander.


‘Tambran’ Tamarind Sauce see recipe here


METHOD

Bara

In a large bowl combine the flour, salt, turmeric.

  1. In a separate small bowl place the warm water, sugar and yeast, stir and leave to foam for 5 minutes.
  2. Add the yeast mixture to the flour to make a slightly firm dough.
  3. Knead it for 3 minutes and then place in an oiled bowl, covered with a damp cloth and allow to rise for 1 1/2 hours (in a warm place preferably, not in direct heat).
  4. When the dough has risen, take the dough and punch the air out of it on a floured surface.
  5. Divide the dough into 8-10 pieces and then shape each piece into a tight ball. Again place the dough balls under damp cloth and let it rest for 15 minutes.
  6. Then with a bowl of warm water, moisten your fingers take a dough ball and flatten it to a round base, 4 or 5 inches in diameter.
  7. The dough should still be moist at this time. You should be able to fit only 3 in the frying pan to give you an idea of their size. Take a frying pan and fill it with 2″ of oil. Heat the oil to a medium - high heat. place 3 of the bara’s in the oil, it should take no more than 30 seconds to cook each side, the bara. Place the bara in a warm oven will you fry the rest.


Curry Channa

  1. Take the onions, garlic and red pepper with the oil and fry gently in a saucepan. The onion may take a while to fry, as you have grated it and so some of the water would have to dry out. This should take 2 minutes.
  2. Then add the curry paste or powder, cumin, lower the heat and fry with the onions for 1-2 minutes.
  3. Then add the drained chick peas to the curry mixture and stir the peas in so that the curry coats the peas completely. Allow it to cook for 2-3 minutes.
  4. Then slowly add the chick pea water, you may not need all of it, just enough to get the right consistency, I used about 3/4 of the water. Season to taste. Allow it to simmer slowly for another 5-8 minutes.


  1. Cucumber Chutney Take all the ingredients, grated, crushed and juiced, stir them lovingly into a bowl. Season to taste if necessary.


Copyright 2015 – all rights reserved.

Trini ‘Tambran’ (Tamarind) Sauce’

I remember being about 6 or 7 at the time (for some reason I put a lot of childhood events between this age range) when I tasted my first Tamarind Ball. It was dark in colour and resembled a golf ball that had been rolled in sugar. My brother told me it was (pepper) ‘hot’, so as neither of us could bear hot pepper at the time I avoided them as best I could.

But then a few weeks later, I thought I’d pluck the courage to go try one of these ‘sweets’ as my Dad called them. He had brought them back from a short trip he’d made to Trinidad to see my Grand - parents and extended family. I had watched on with envy as my Mum and Dad devoured them with child like pleasure all week and couldn’t understand the fascination with something that resembled liquorice but tasted like pepper.

The moment the Tambran was in my mouth, I was met by an unusually sweet sticky texture which I chewed on for a couple of seconds, before coming across the odd black seed (which I guessed had been missed). Then came the pepper of fire, which turned out to be more like a tickle rather than a punch in the mouth; it was over before I knew it. I loved them!

From then on I void never to follow my brother’s advice (in relation to food) ever again.

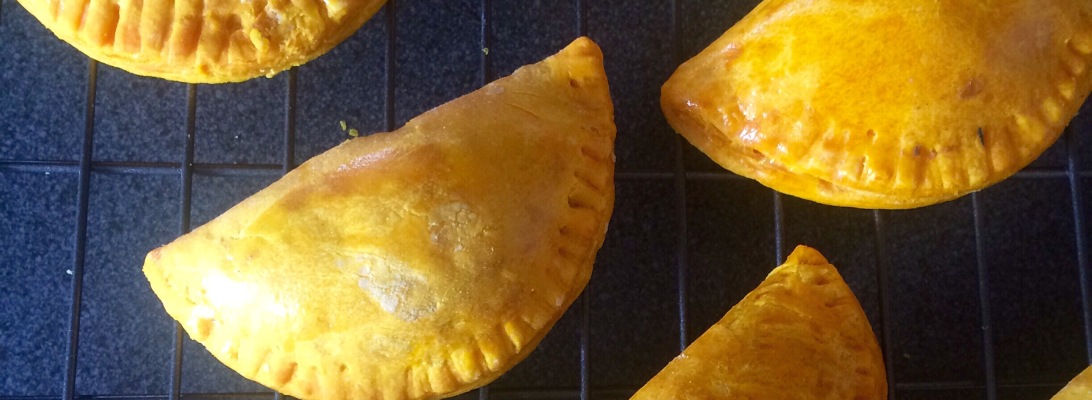
The recipe below is for Tambran sauce, I thought it would be better to share the sauce rather than the sweet/savoury balls with you because it’s a very versatile sauce which can be added to a number of sweet, savoury dishes or even drinks!

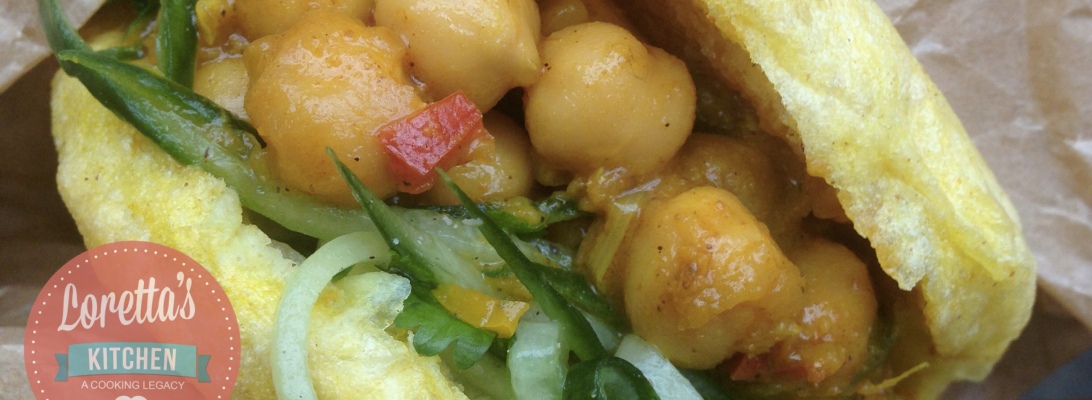
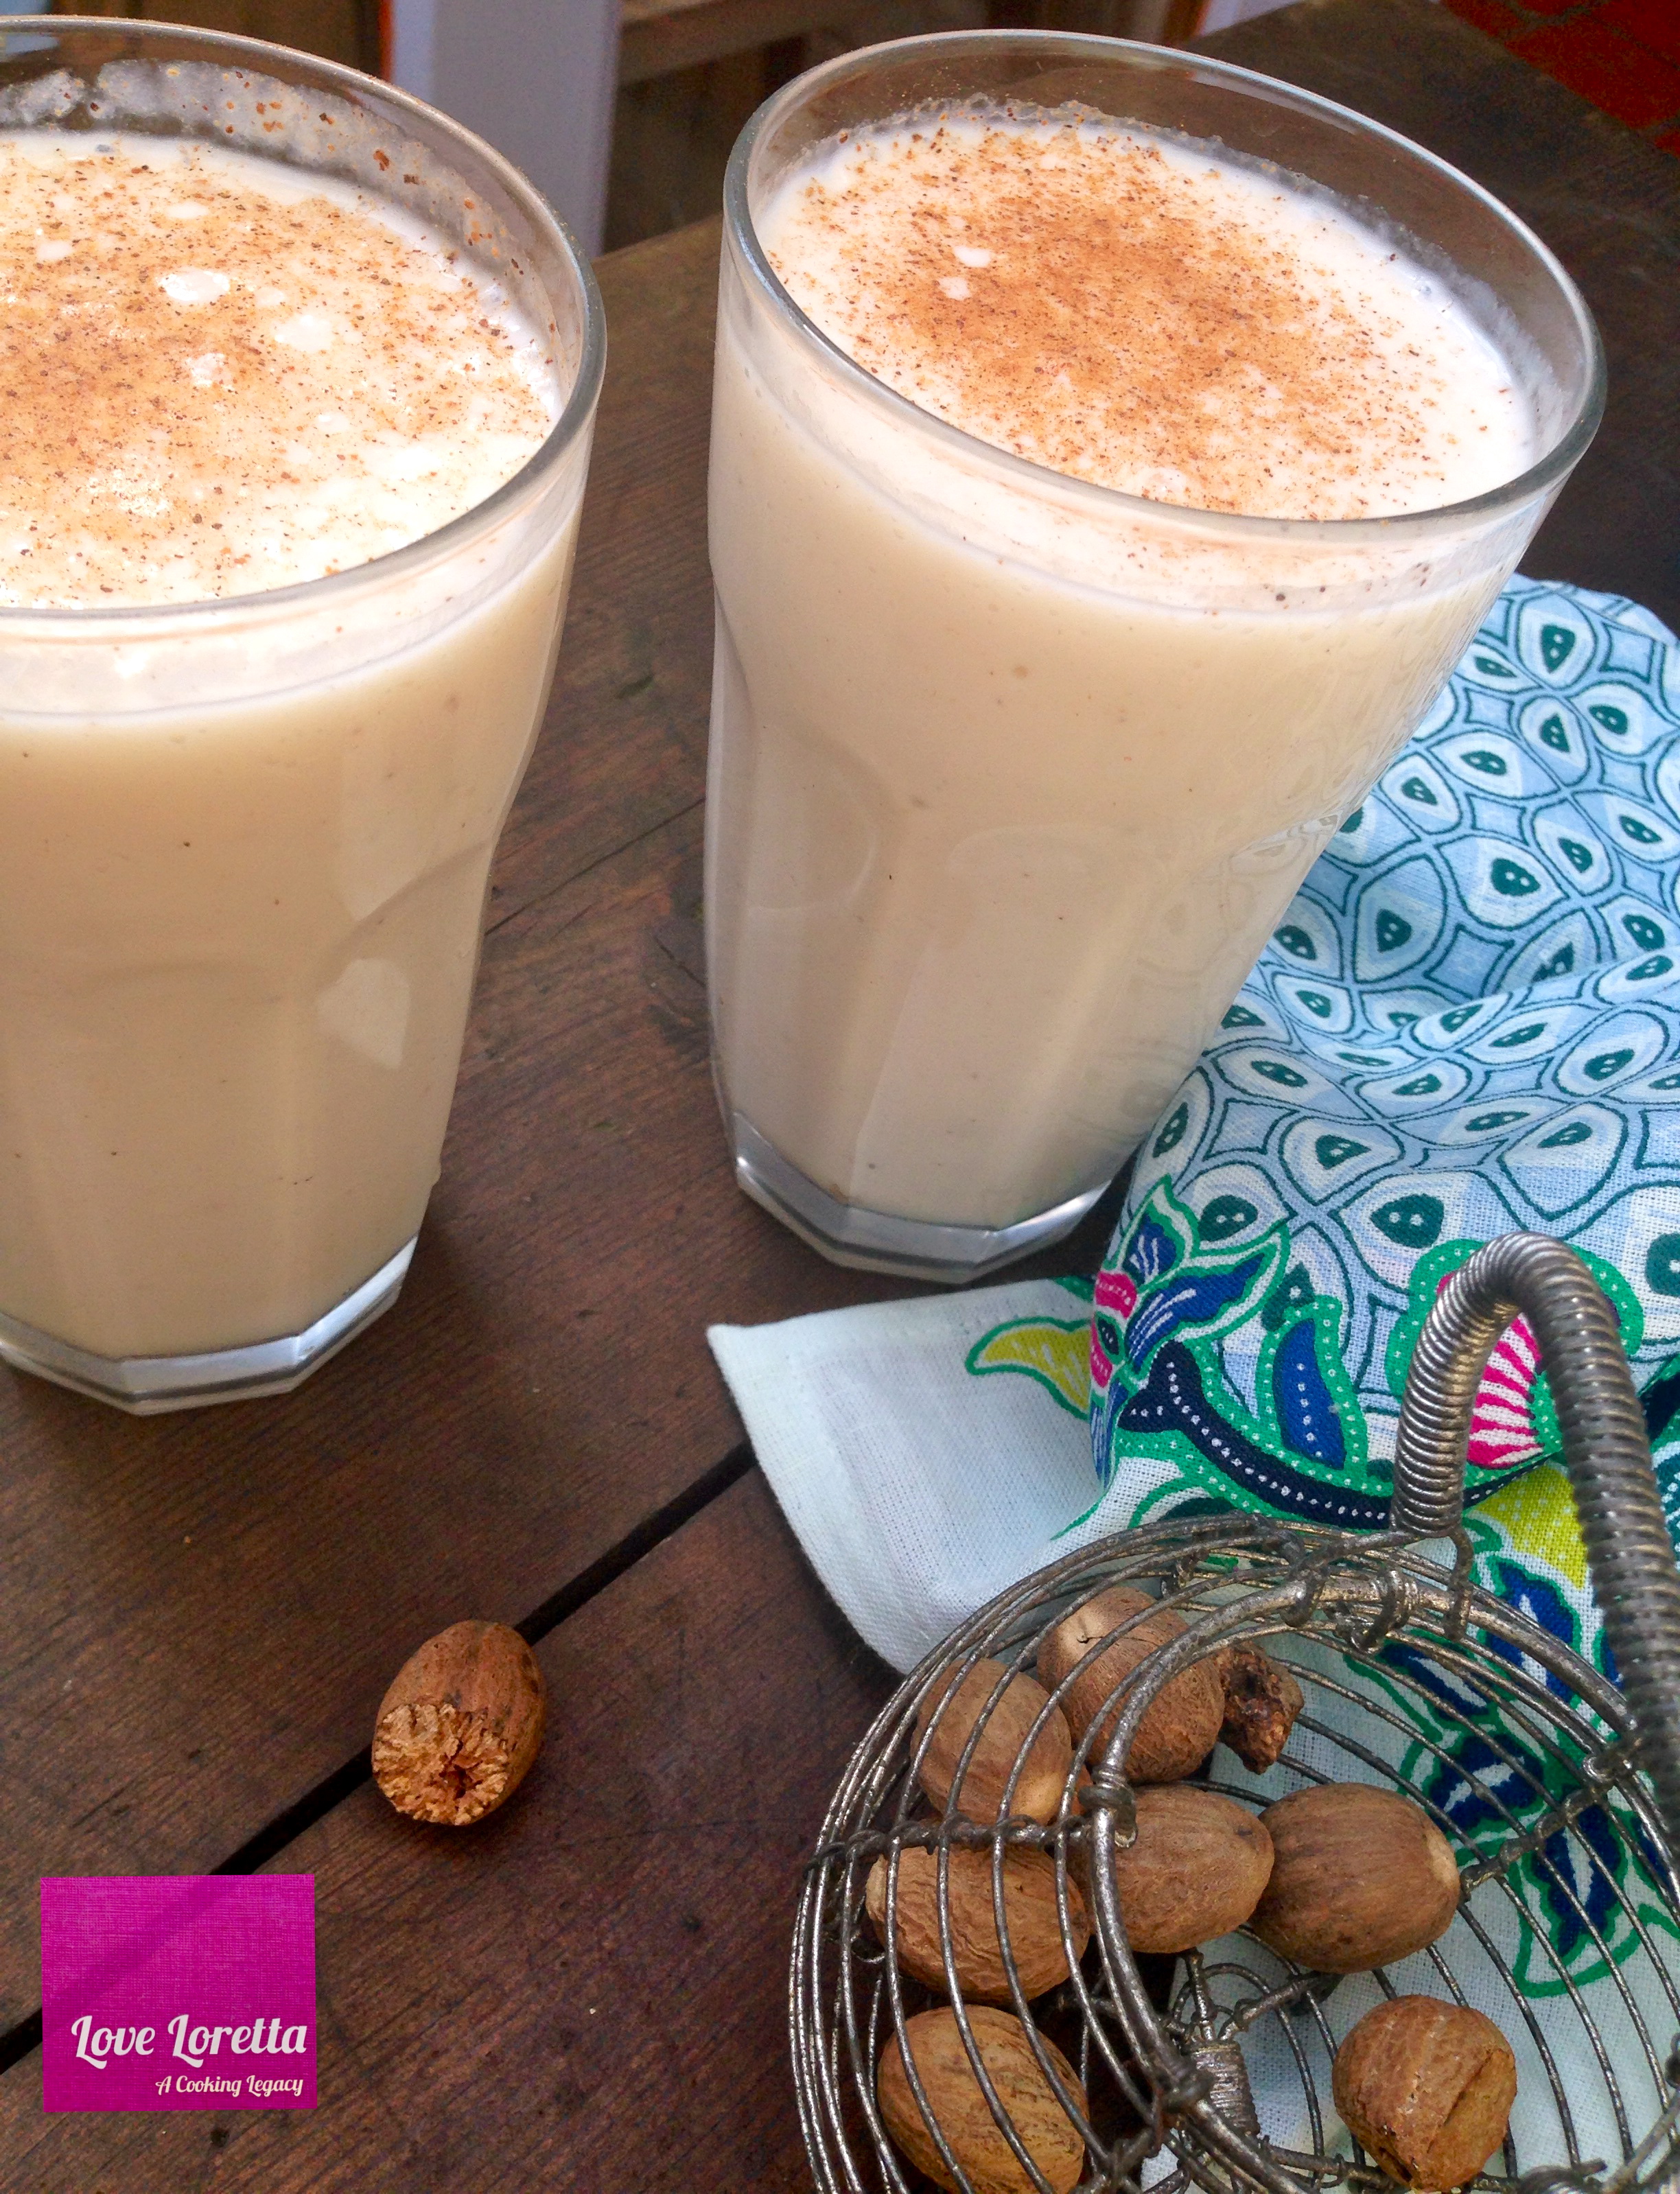
I’ve used this sauce in the Bara and Channa which is joining the blog soon, and hopefully I’ll share a drink with you too! Enjoy

Nutritional Value: 

Each 100 grams of tamarind contain 36% of the thiamin, 35% of the iron, 23% of magnesium and 16% of the phosphorus recommended for a day’s worth of nutrition. Other prominent nutrients include niacin, calcium, vitamin C, copper, and pyridoxine.

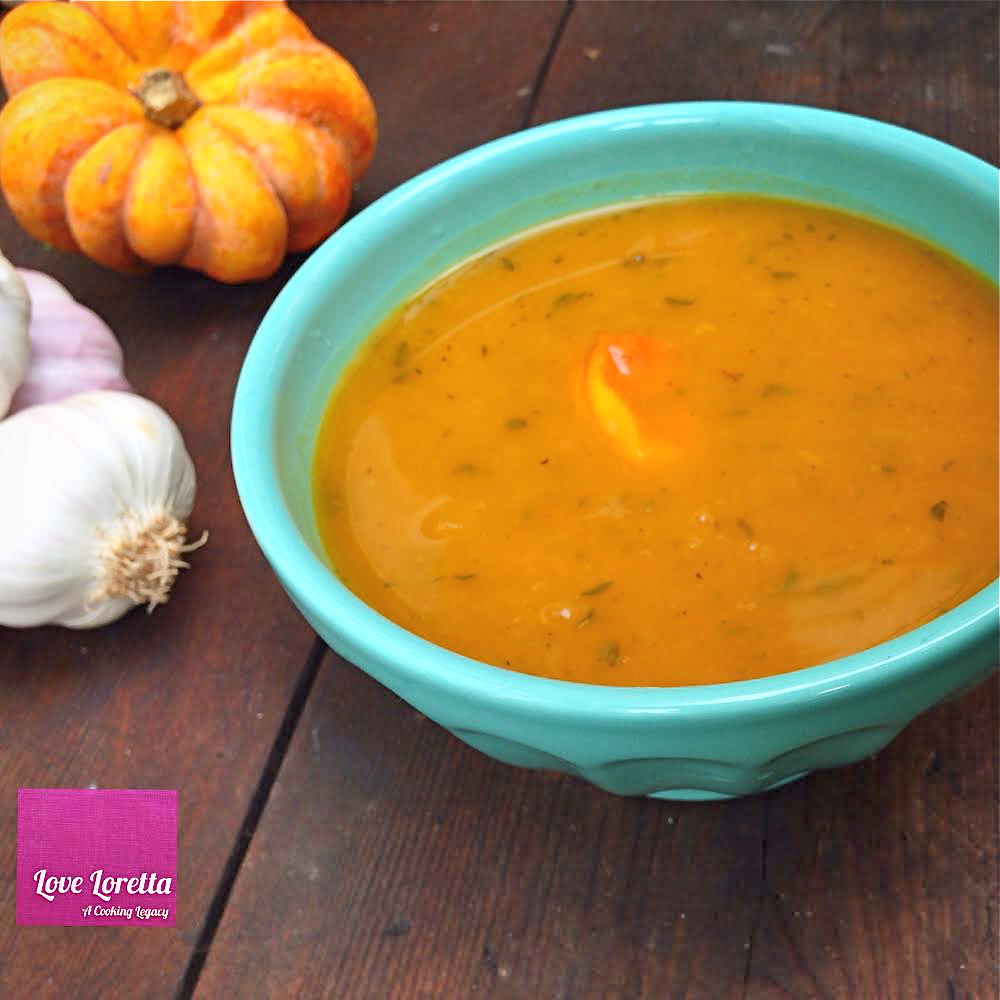
'Tambran' (Tamarind) Sauce

  • Servings: 10-20 servings
  • Difficulty: easy
  • Print

Ingredients

10 sweet tamarinds, shelled and de-seeded

2 to 3 cups water

1 tbsp brown sugar

1 pinch of salt

2 cloves of garlic - crushed

1/4 medium onion - grated finely

1/2 tsp scotch bonnet pepper - chopped finely (or more!)

Method

Once you have removed the shell from the tamarind, rinse the tamarind under running water (this is to make sure any bits of the shell still on the fruit are completely removed.

You will see a boney like membrane running along the fruit, remove that too if possible, otherwise, transfer the tamarind a saucepan. Pour into the saucepan, two cups of water and bring the pan to a fast boil, you will see the tamarind begin to dissolve, you can help the fruit separate from the seed by mashing it with a potato masher. If the liquid starts to thicken, add more water and lower the heat. This should take 5 -7 minutes.

Take the tamarind off the heat, pour the mixture through a sieve into a bowl, leaving behind the husk and the seed. You want to add the husk to the remaining sauce and discard the seed. Now return the tamarind sauce to the saucepan.

In the saucepan, add the remainder of the ingredients and bring it to a medium boil to help thicken the sauce. Once the sauce is at the consistency you want, allow it to cool and store in sterilised jars in the refrigerator.

Guyana: Paratha Roti

Oil-roti, buss-up-shot, Dhal puri. Some of the names I have grown to associate with the iconic national dish of both Guyana and Trinidad. From the Street Vendor in San Fernando to the Blue Hut on Mount Irvine Beach in Tobago, Roti is enjoyed by everyone, everywhere. The hardest task I have found however was not in the consuming, but finding someone who could do it well (or as well as my Mother…as we would all say). And I’m sad to report that those places and people are very few and hard to find. Many make the mistake of preparing Roti much like chapatti or some other flat bread, which is fine to those who don’t know any better, but to those who can sniff a good Roti from a far off it won’t be enjoyed as well.

The key to making a good Guyanese Paratha Roti is letting the dough rest adequately between each stage. The ratio of baking powder to flour is equally important. It’s also important that you use the right utensils. A Tawah (flat iron griddle) is what is used to cook the Roti on for the best results. There are several other stages not to mention the filling which varies if you are making Dhal Puri roti or simply oil-roti (plain). But essentially it is a tedious process, but once you get the hang of it its a really convenient side dish that can be stored in the freezer and used whenever you want to.

If you would like details of the recipe below, feel free to e-mail me: lovelorettaskitchen@gmail.com and I will be sure to send you the detailed directions (with step by step pictures).

Copyright © Ranette Prime and Love Loretta’s Kitchen, 2014. All Rights Reserved.